Showing posts with label setup. Show all posts

Monday, February 23, 2015

Lots of prints and the solution to my misprinting problems


Today evening my husband's friend came over to see my EggBot in action. I showed him how it is printing but as usual we have seen the filling and outline misprinting problem. Since he is a nerd too we decided to debug it finally!

Do you remember these problems I mentioned in my previous posts?

Lines are going crazy

Filling is totally out of the outline
We have done about 10-12 prints today. Most of them was for testing purposes but on the bright side I could use my new "fat" Sharpie pens because the new pen holder piece is done! My husband printed it out with his 3D printer a few days ago but we just didn't have time to test it yet. (He also promised a post about how he made it, so stay tuned!)

Test prints
First, we tried to set the shape of the egg by lifting up and down the motor. It didn't make much change. Then we tried to print out some examples to see if only my designs are bad or it happens with the other ones too. It wasn't my designs. You can see that the prints look good from the distance. But once you look closer the lines are not aligned properly, some filling is not placed right, etc.

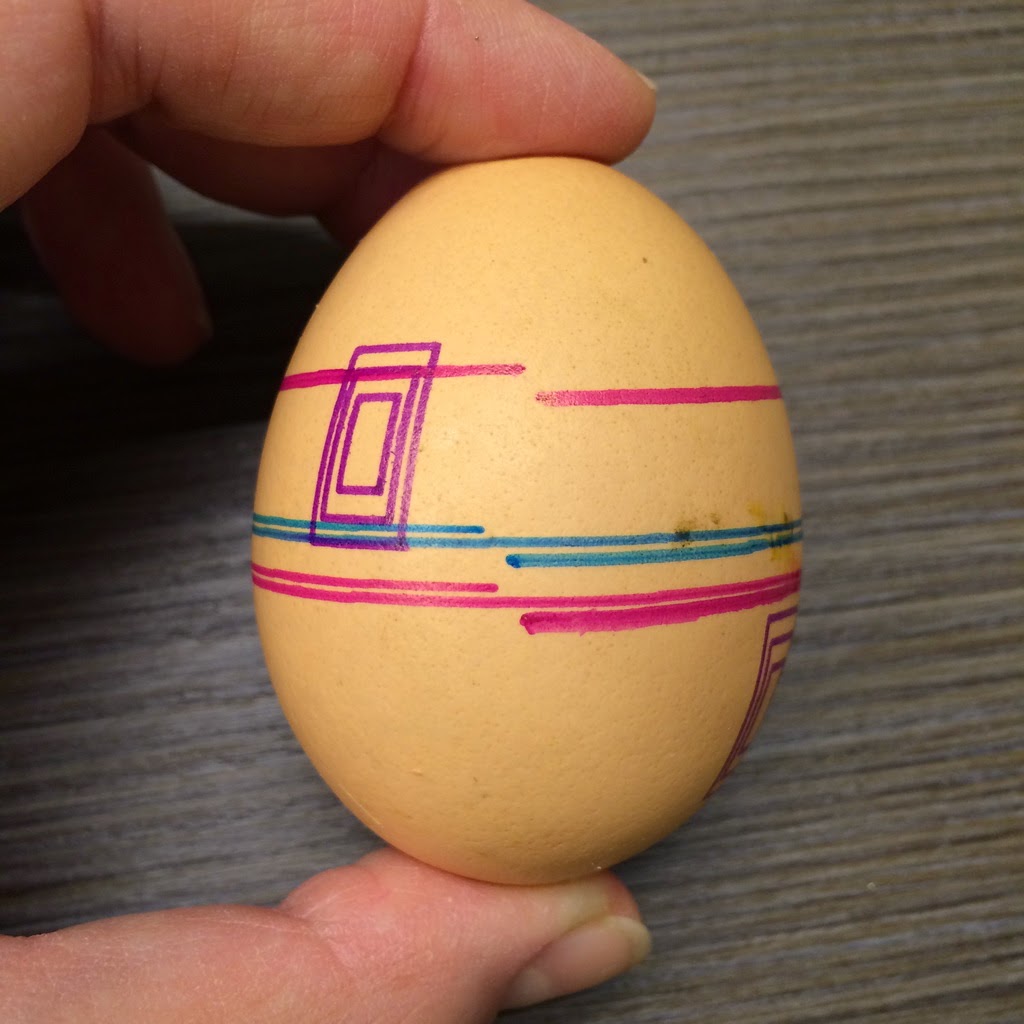
The next idea was to create a drawing with only squares to see if they are aligned properly. They were. Then we just printed a line that went around the egg two times exactly. However the line never reached the end of the second round, it was too short.

Test printed egg
Since we didn't have much idea what can cause this problem at the end we decided to try to update the firmware from 2.0.1 to 2.1.5. And tadaaam, it solved everything!

Egg in the front before and the one at the back after the firmware update

Pink is after the firmware update, brown and bronze is before

Google man after the update

Google man after the update - still there is a tiny mistake with his left shoe


Saturday, February 7, 2015

Various prints

Friends came over and I wanted to show them my EggBot printer. I quickly pulled out an example drawing and after a short pen-up and pen-down setup I started printing. The result was not as good as I imagined:


As you can see the lines are not in harmony at all and it is kinda not what one would expect to happen. The main problem probably was that I had smaller eggs this time and I moved the parts of the EggBot Printer to fit smaller eggs but I didn't realise that the pen wasn't in the middle of the egg any more. Anyway, they were happy to see it actually printing.

For the second try I printed one of my half-ready designs with the Google Man (from my Gmail background) on it. And it also contains a test message printed on it that I placed there using the EggBot Inkscape extension's Hersey text.


The text worked perfectly, unfortunately it cannot handle the exotic Hungarian letters such as "ü" and "á", but I can finish it manually. Unfortunately the printing has some mistakes again. The fillings of the feet weren't placed correctly. It happened earlier too, so I will look into this more deeply in the near future and get back with a solution as soon as I tested it.

Thursday, January 15, 2015

Various prints

I tried to print out this design but the lines got messed up. At the moment I don't know why but I should really test a bit more to make it perfect.


Saturday, December 27, 2014

My first print

After my EggBot was in one piece, of course I wanted to try it out! First, I only used the one colour, in my case it was black.

I opened a template file that I downloaded earlier in Inkscape and set up the printer, using the Inkscape EggBot extension. Once again I followed the very clear instructions and after setting up the pen-up and pen-down positions in about 3 minutes, I found myself trying to mount the egg for about 10 minutes...

I don't know if you have ever tried to mount an egg before the way that it is as symmetrical as possible, but it seems to be one of the hardest parts of using EggBot.

The website makes it seem very easy, but believe me, I was very frustrated after trying it for 10 minutes:
Pull back the plunger and roughly center the end of the egg on the headstock. Gently return the plunger to the other end of the egg. Spin the egg to see if it is centered, and adjust its position in the two egg cups as necessary.
If you have any good tips how to do it easily, please do not hesitate to share!

Anyway, at the end I managed to mount the egg and the printing could be started:


I later tried to print the snowman with 2 colours and other patterns. I also found one example file with text. Could not resist to print it too!